Crack Repair: Using Hot Stuff and Grenadilla Wood Powder
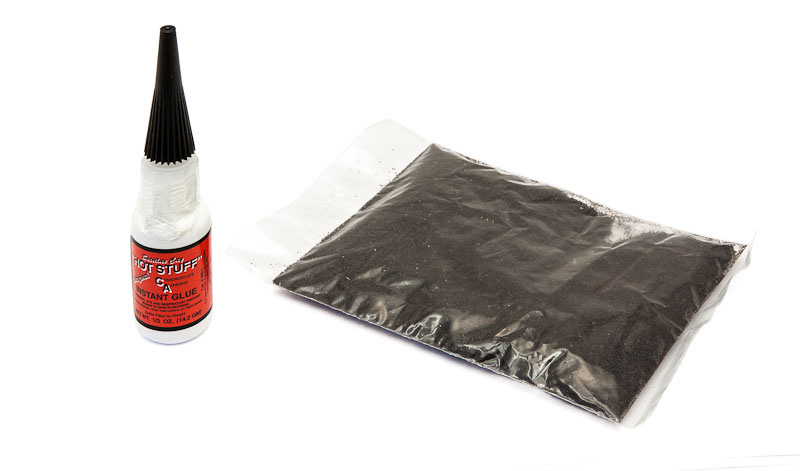
25th June 2020There are many approaches to filling a crack in a wooden instrument. I’d like to share with you the most popular technique used in our workshop at Dawkes Music. We do most of our crack repair using fine powdered black wood dust (or the same wood as the instrument) set with Hot Stuff, a low viscosity, hard setting, quick working super glue. The items are available in a handy kit so you have what you need in one place.
PLEASE NOTE: This is just one of the many ways of approaching cracks and some people use pinning, banding, or epoxy for instance. When studying the trade I was told to use wood dust set with epoxy and, although effective, I never got along with it particularly well. I found the epoxy made a mess and, due to the high viscosity, can leave areas with more glue than wood. Then, when you clean up the area, the filler does not behave like the wood surrounding it and therefore never blends well. It also takes a long time to cure completely. This makes the whole process a much more frustrating experience than it needs to be.
Different cracks may need different repairs, but for the everyday cracks we see on a regular basis, the following technique has helped me tremendously. So without further ado I’d like to share with you the most popular technique for crack filling used in our workshop:
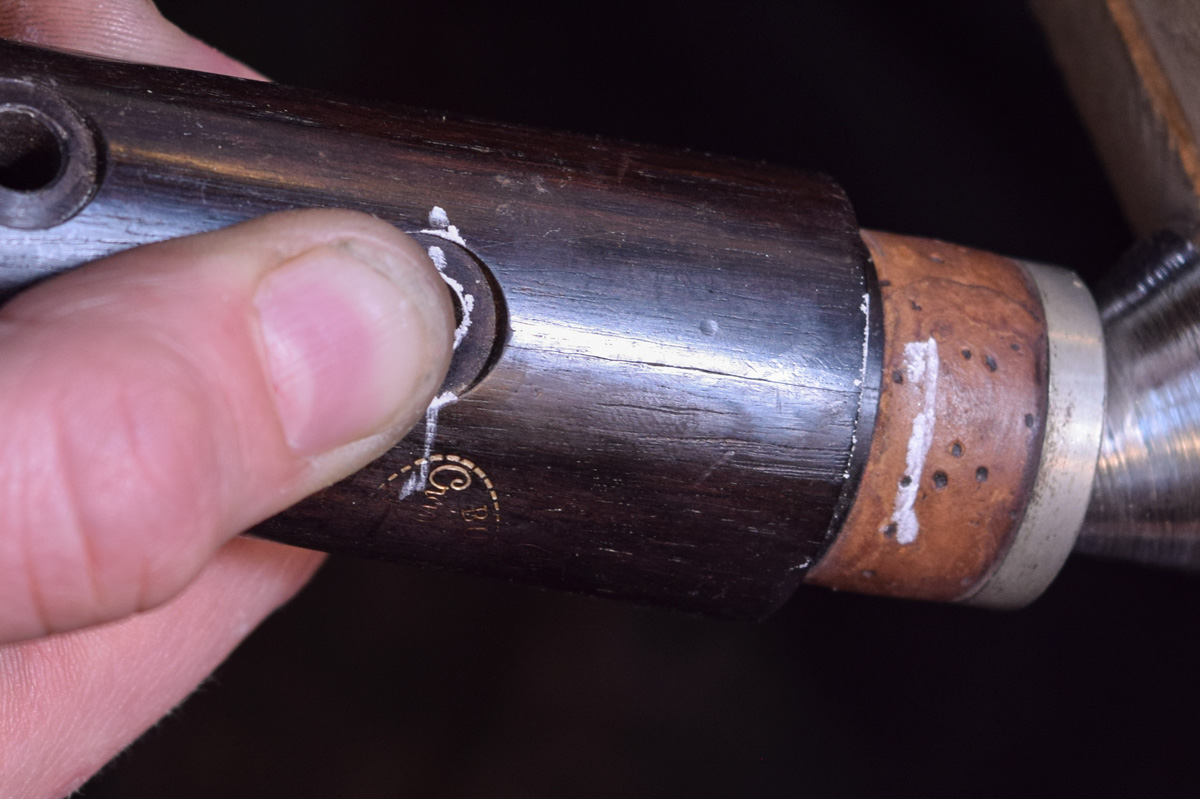
- First we find the crack and make sure we track the full length of it. I usually mark each end by a chalk or pencil line at either end to see how long the crack really is (fig.1).
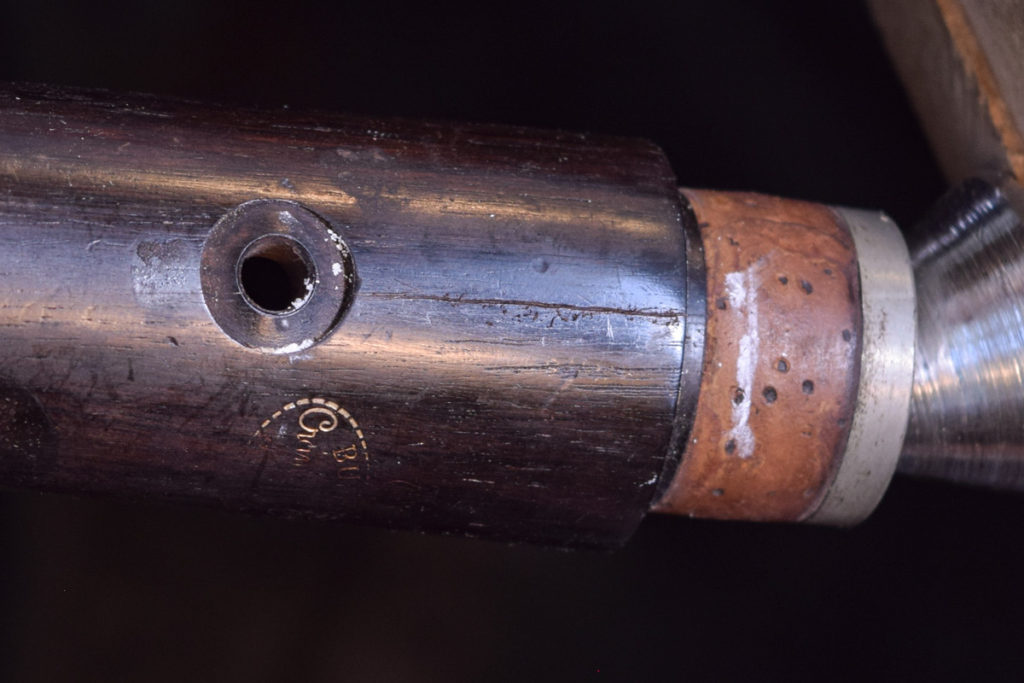
- We then run a sharpened needle spring down the length of the crack. This is to open the crack slightly for the dust, but also to make the edge on either side of the crack take to the filler better and make the clean up more uniform. By both edges being slightly proud they will soak the glue up nicely and behave just like the wood dust. (fig.2)
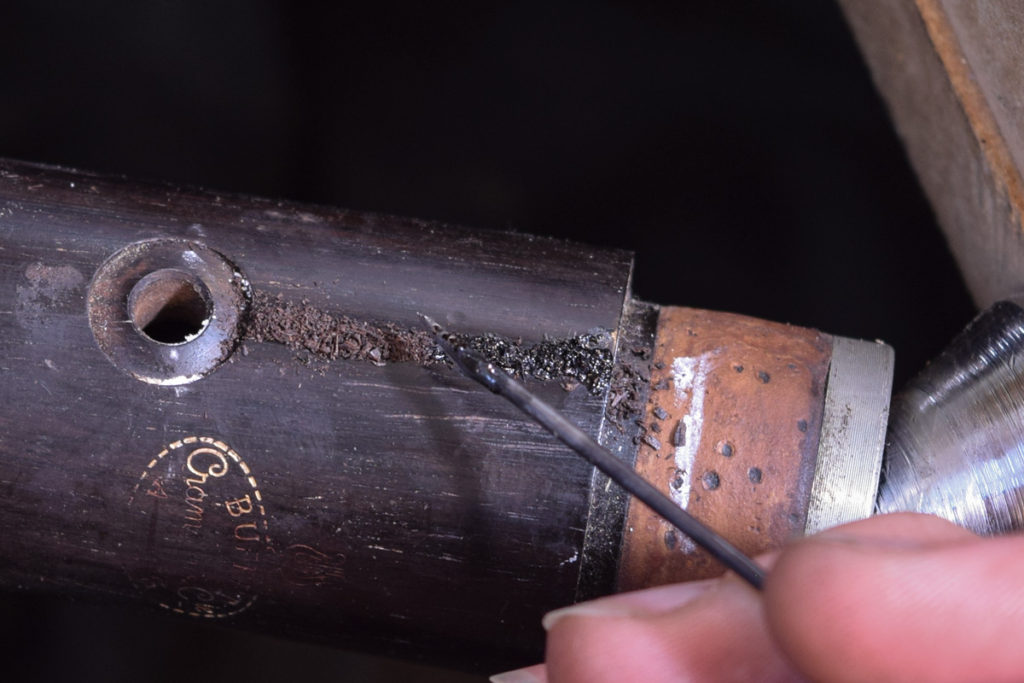
- Using our HS-7 Hot Stuff and Grenadilla Wood Powder Chips Kit (FH75K), pick small pinches of the wood dust up using wide tipped tweezers. It’s best to have the joint you are working on held on your bench peg or in another sturdy position where you can use both hands without spilling the dust off the surface. You can then make a line of wood dust along the whole length of the crack.
TIP: wood dust can be made finer by rubbing it in a folded pieces of paper. You can then pick out any bits that won’t break down and store the finer dust in a separate zip lock bag I often use this dust in the bottom of the crack to make sure the glue soaks all the way in to the crack.
- Deposit a drop of Hot Stuff on the tip of a needle spring or similar. This can be done by dipping the needle in a little poured out pool of glue, or with some practice can be dripped onto the needle directly and let it run down to the tip. (fig.3)
TIP: Be very careful of your clothes and skin when working with this glue as it sets completely hard and heats up while doing so. It will instantly bond skin and if you have it on your fingers it’s easy to leave fingerprints which are hard to remove. Consider also having some superglue remover at hand.
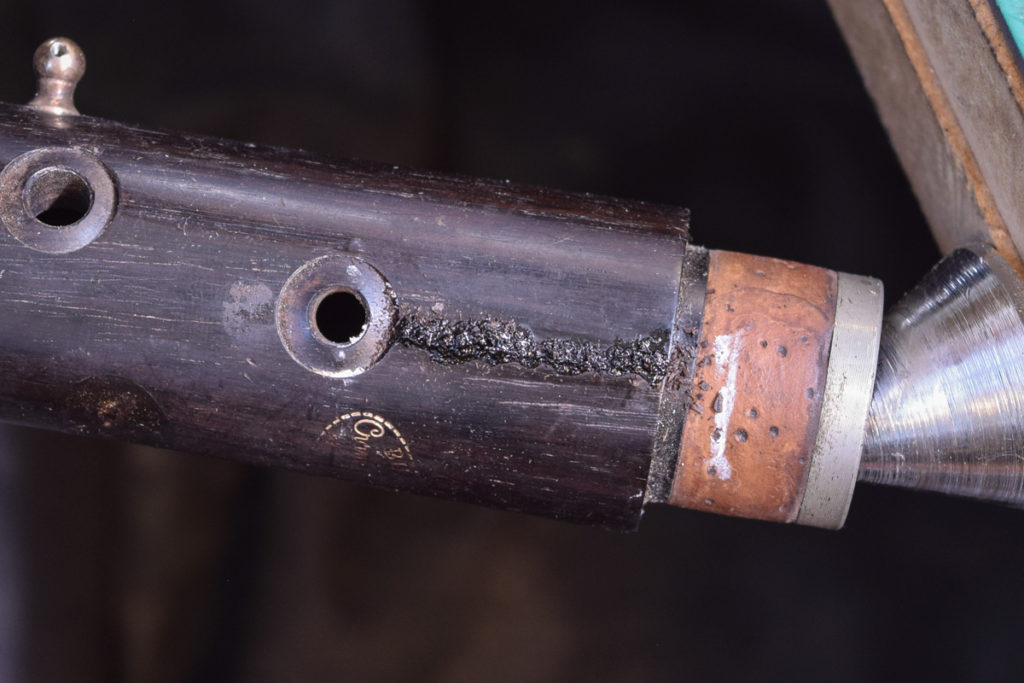
- You can now let that drop go into the line of wood dust. Due to the low viscosity of the glue it soaks into the wood dust and into the crack quickly. Work down the crack adding drops of glue as you go. You will be left with a hard ridge of solid filler. (fig.4)
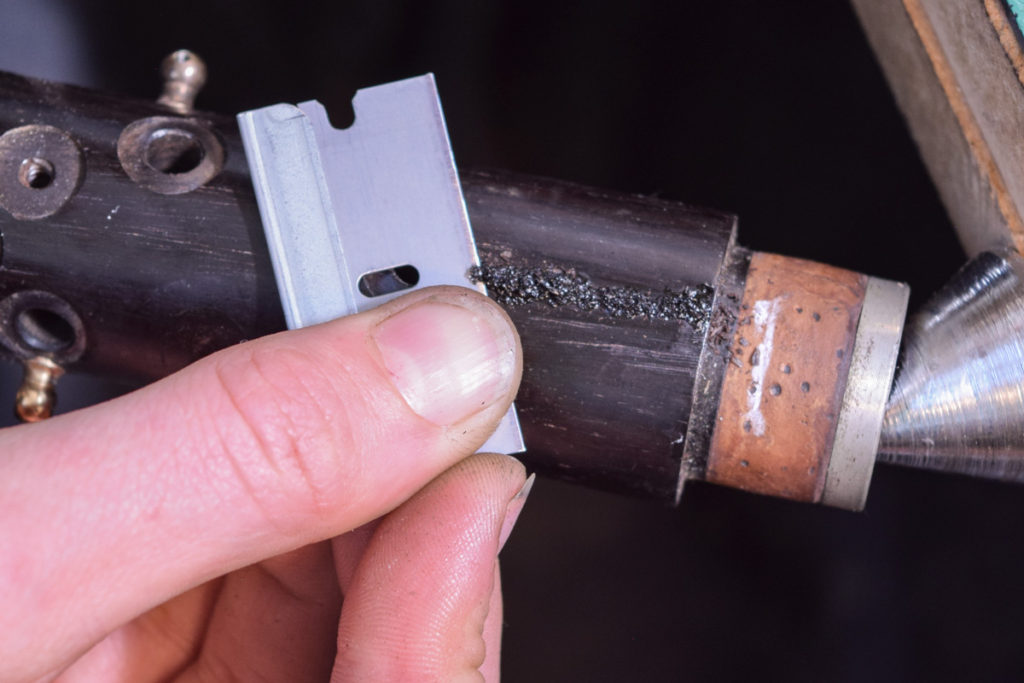
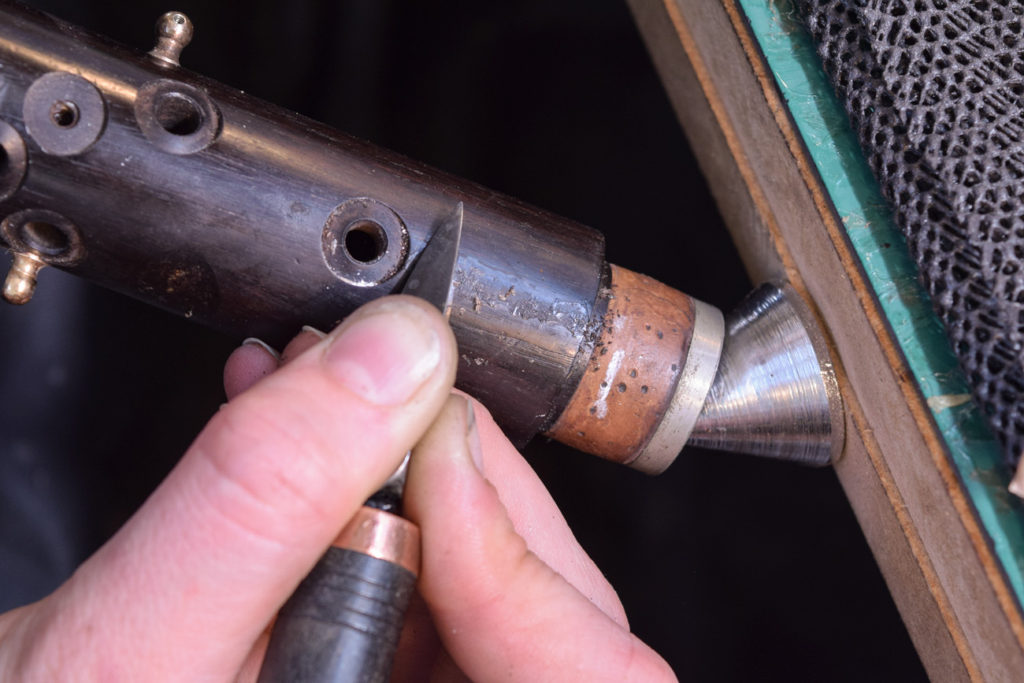
This can now be carefully shaved off using a fresh razor blade (fig.5 – above) and when close to clean, a scraper. (fig.6 – below)
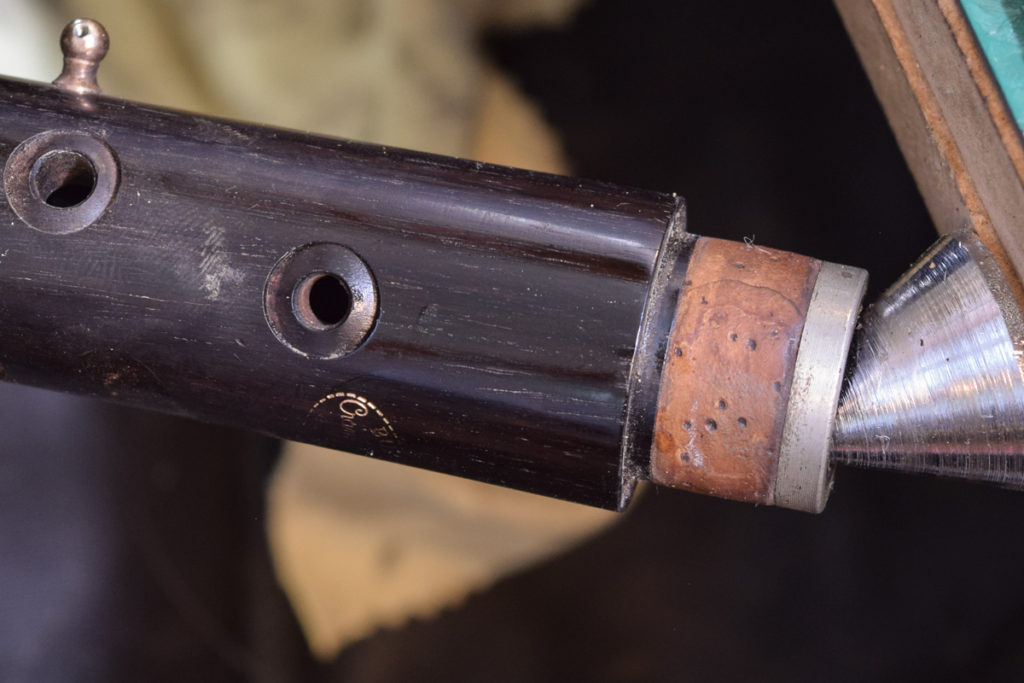
If you find some areas to need a bit more filler you can repeat the process to fill any gaps with ease. A slight polish using a fine abrasive, a ragging tape with tripoli and drop of bore oil should leave it looking almost invisible. (fig.7)
I’ve found this technique to give reliable and good looking results which are quick to achieve. All you need to get started is the Dust & Glue kit!
Sunniva – Dawkes Repair Department