From the Workshop: Preparing a Secondhand Howarth S40C Oboe
22nd January 2026Written for the British Double Reed Society
The Shop at Dawkes has a constant stream of customers bringing in instruments for potential part exchange or commission sale. This means the workshop has an interesting, ever-changing pool of high-quality second-hand instruments to service and prepare lovingly for sale. Assessing instruments deeply and thoroughly to identify any potential pitfalls, underlying damage, previous questionable repairs or wear and tear is so important to ensure that we can confidently enhance the new owner’s experience, then offer longevity through our warranty support.
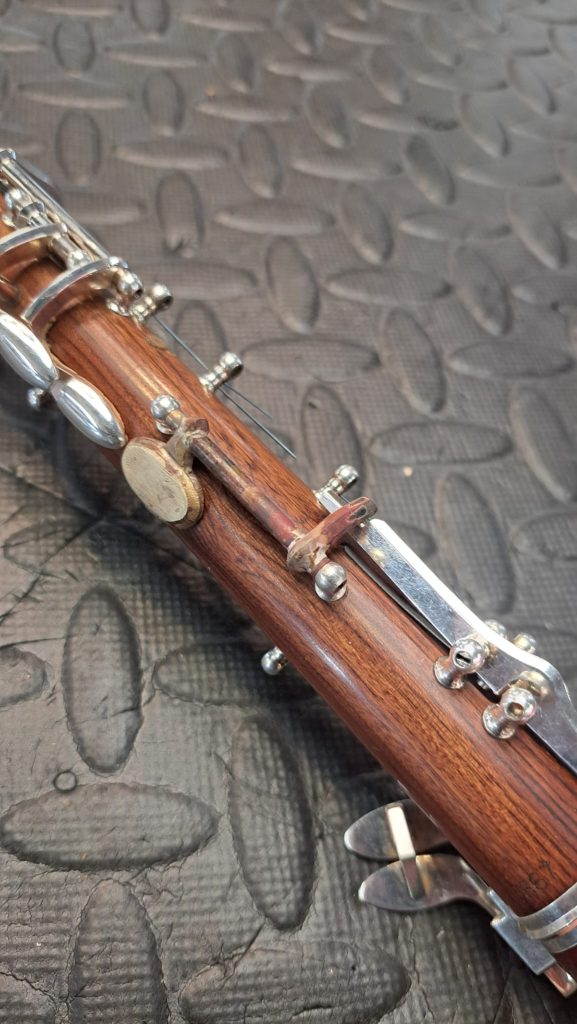
One such high quality instrument that came into our hands this spring was a Howarth S40C Oboe in mopane wood. Immediately this instrument looks so different and striking due to the warm red-brown colour of the wooden body. It’s really nice to see an instrument that diverts from the ‘normal’ aesthetic; this wood even feels different in the hands, offering a distinct texture, weight and tonal response. We were all enthusiastic to take it in as we were confident there would be interest, as well as just admiring the build quality of the whole outfit.
Challenges for Resale
Despite the instrument being in very good condition, we could see one potential issue when it comes to re-selling to our customer base in the UK – this oboe was a conservatoire system, with no thumbplate. The original owner brought it over with them from Hong Kong, where this system is entirely commonplace. A UK-based student who has learned to play on a thumbplate system would have to re-learn fingerings in order to use this instrument, making it less appealing for our sales team to take on.
At Dawkes we are well equipped for key making and repair, and the certain small manufacturing processes which assist our repairs day to day. Between us we advised that in order to widen customer interest and appeal, we should add a thumbplate so that all upgrading students can find familiarity.
Modifying the Conservatoire System
Since this oboe was manufactured as a non-thumbplate conservatoire system, the 3rd octave key sits directly on top of the main octave key. We realised that once we introduced a thumbplate, this would no longer be accessible or ergonomic. There are various different ways that manufacturers approach the mapping of this area to make it comfortable. We proposed bringing the 3rd octave lever around to the side and re-shaping the main octave lever accordingly.
There is yet another element to consider in the conservatoire system: the index finger in the right hand interacts with the top joint keywork, activating the Bb and C keys. This ‘con-bar’ bridging across the top and bottom joints must be slightly adapted to interact with the new thumbplate, creating what is known as a ‘dual system’. This retains the conservatoire bar system, while incorporating the thumbplate.
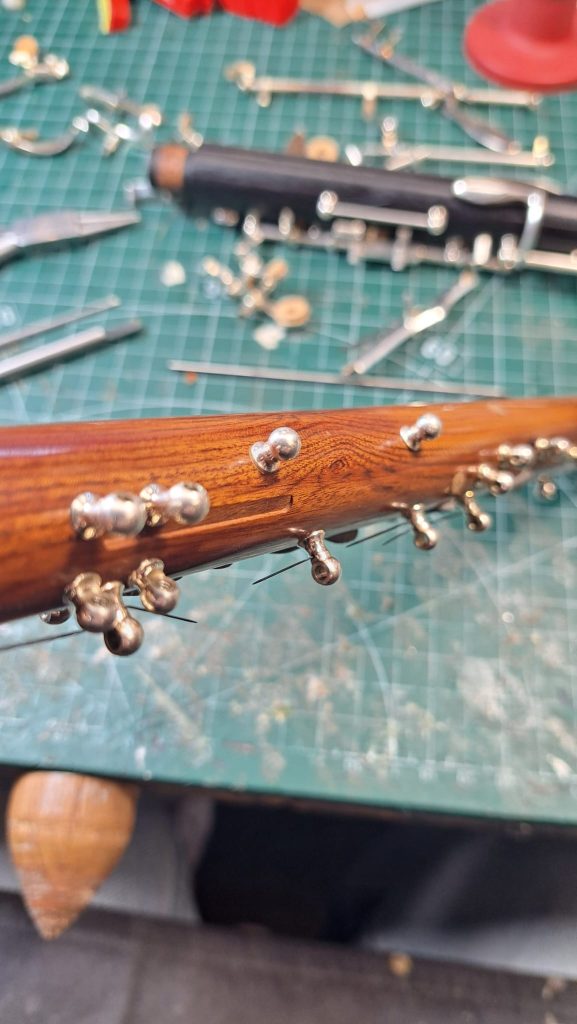
Pillars and Keywork
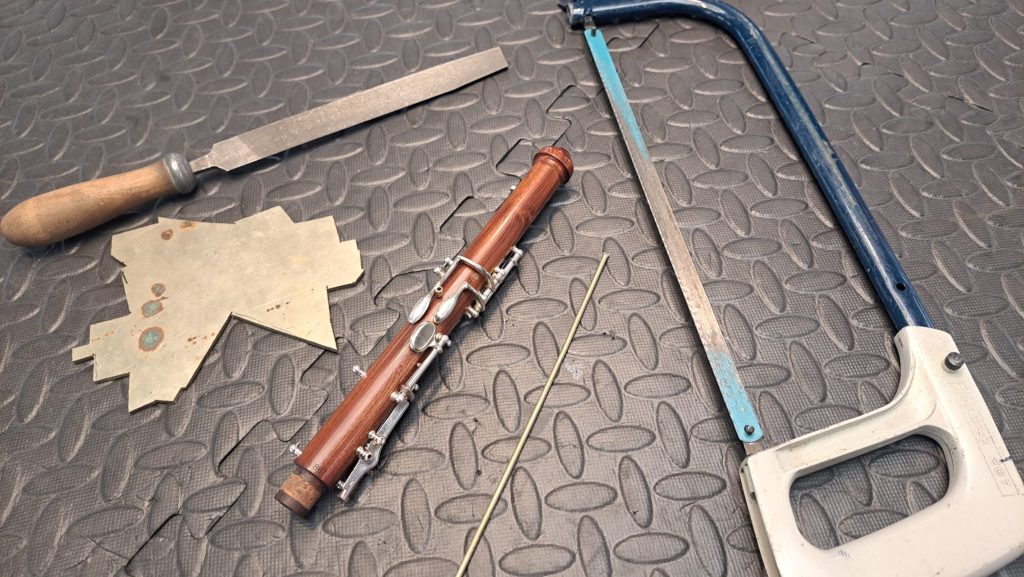
Carefully mapping the layout of pillars and leverage points is crucial for this assembly to function well. Drilling holes into the beautiful wooden body to fit new pillars is not something to be taken lightly; material cannot be put back and we want to achieve the cleanest professional finish possible. With an abundance of key and body parts in our stock, we were able to select some ‘blank’ pillars of the correct scale and height, reducing our manual processes. A blank is a simple spherical bulb which can be cut, drilled and shaped as necessary. The role of these pillars is to hold the keys firmly and accurately in place: a long rod screw with a thread at one end secures everything in place between them. Shallow holes, steadily drilled dead straight into the body, are tapped to receive the pillars sinking them neatly into the wood.
We selected an appropriate length of raw nickel silver tubing to become the external rotating ‘hinge tubing’, and sourced a smaller diameter piece of steel rod, close fitting inside the hollow tube. This steel becomes the ‘rod screw’ when we cut the slot in one end and a thread in the opposing end. The pillars are then accurately drilled – totally parallel – to receive the rod, with one end being tapped out to receive the threaded end. The curved internal edges of the pillars are ‘faced off’ to create a flat surface for the hinge tubing to rotate against. Once this foundational combination of rod screw and pillars is secure, the rest of the key can begin to take shape.
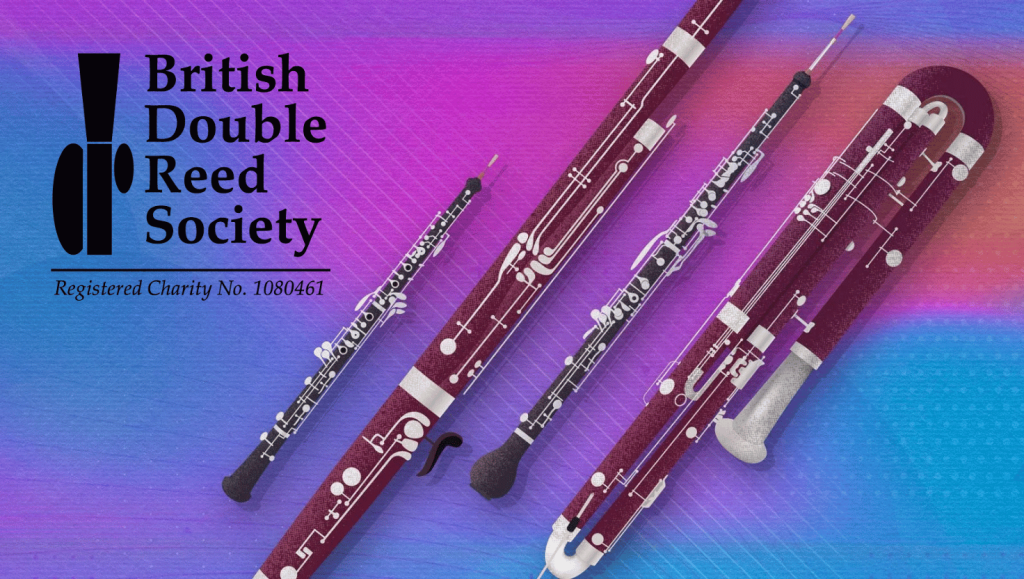
Crafting the Touchpiece
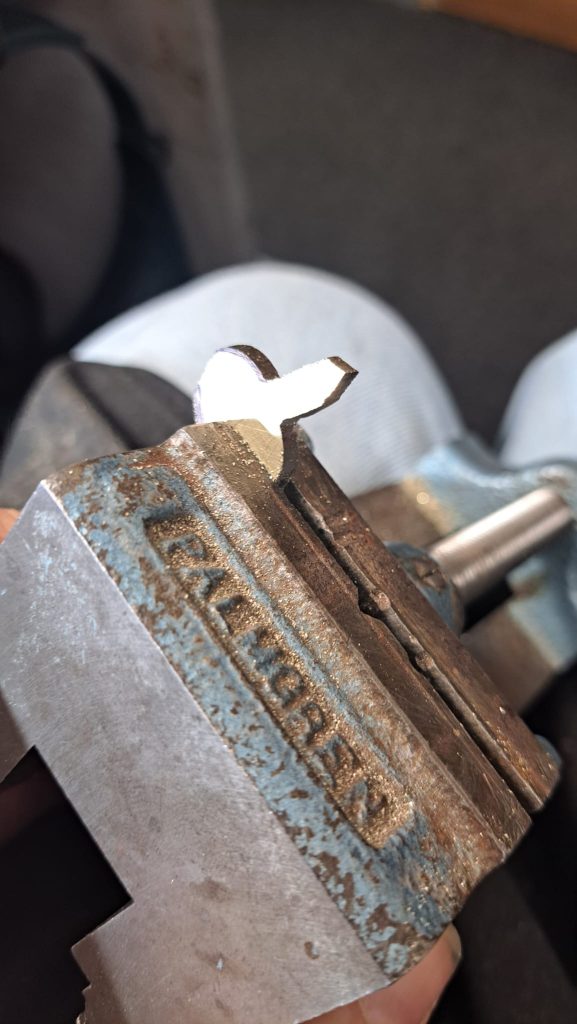
A small piece of nickel silver sheet is now cut, filed and shaped into the ‘touchpiece’: this is the active part of the key which will be engaged by the player. It’s important for this piece to be aesthetically in keeping with the rest of the instrument, matching the bevels, scale and character of the existing keywork.
The ‘arm’ of the key is created as part of the touchpiece itself, making it super strong. It connects the touchpiece to the ‘hinge tubing’ via a neatly drilled hole, which the hinge tube threads through and connects seamlessly. Once roughly shaped, these parts are bonded using high temperature silver-solder. Lots of time is spent securing the parts in a jig; generally when making keys you’ll spend twice as long aligning and stabilising the parts prior to soldering than the soldering itself. Time invested at this stage is so important for efficient key making, so you’re not going back and correcting minor angles down the line.
Soldering the Keys
Once all parts are coated with flux, secured and lined up, both parts are heated to a glowing cherry red, approximately 700 degrees centigrade, to allow the silver wire to melt and flow into the contact points. This joint will be so strong, only a small amount of solder is required. It’s much better to limit the amount of solder used, as the parts should be extremely close fitting anyway. Surplus silver solder will spill out from the joints and only create more work when cleaning up.
The high temperature creates discolouration of all the nickel silver parts, leaving them stained and scorched. The parts must be left to cool down in their own time. Although plunging into cool water is a way of quickening the cool down, it can shock the hot solder, crystalising and weakening the joint. Patience is crucial for this kind of work, so it’s best to walk away and make a cup of tea at this stage!
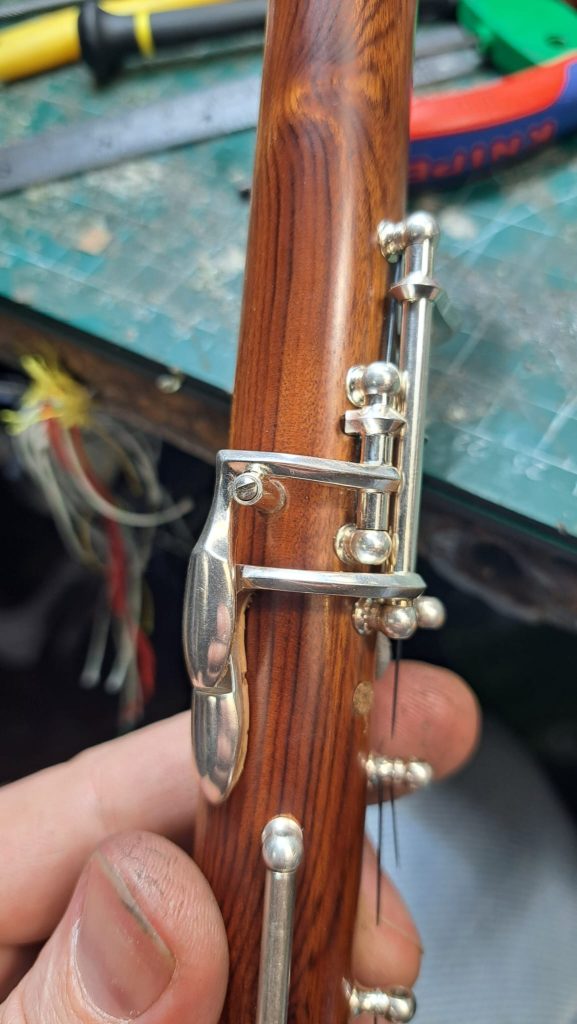
Installing the Third Octave Key
Cutting away the 3rd octave touchpiece is necessary to install a new piece. By following the same process of planning, filing, shaping and soldering, the new key takes shape. Soldering a rough piece of nickel silver into the now exposed main octave key will fill in the existing cut-out, allowing us to reduce the newly oversized surface back into a neat shape. The 3rd octave key typically has a small screw dictating the travel of the key, it only needs a very small movement, and this screw means it can be adjusted quickly and easily. Another small solder joint, tapping a thread and supplying a screw creates this neat feature.
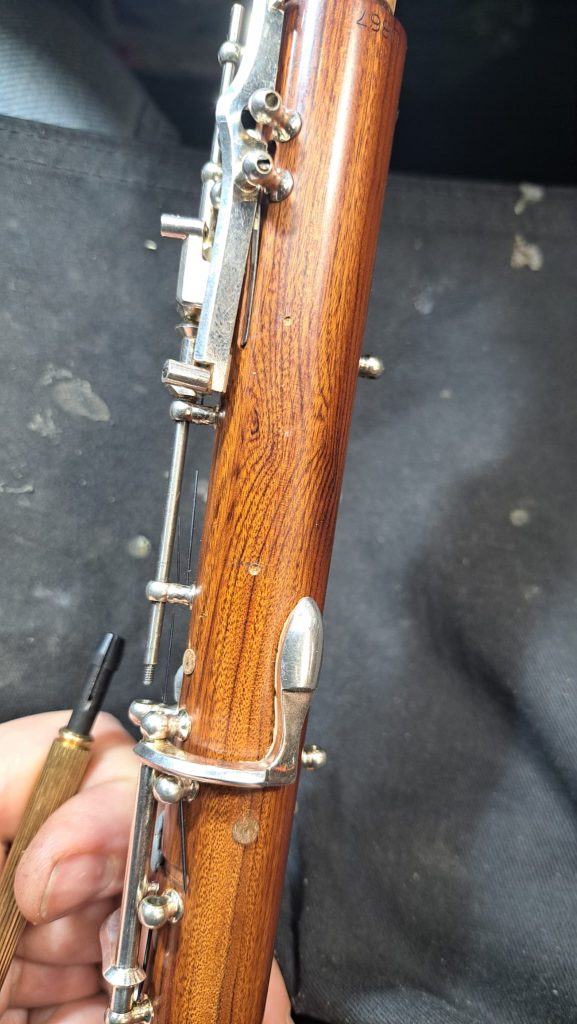
Adding the Thumbplate
The thumbplate itself requires leverage so a needle spring needs to engage with a small ‘hitch’ on the underside of the hinge tubing. A small hole, less than 1mm wide, must be accurately drilled under the ‘bulb’ of the pillar head in order for the spring to be fitted into position. A small hitch is then soldered at the correct angle under the hinge tubing, being careful to clear the body. The needle spring will be cut to length, fishtailed and force-fitted into the pillar to be angled as necessary.
Testing and Finishing
Once all is installed and functional, the instrument is thoroughly play-tested to check all the new elements interact correctly and smoothly with the existing keywork. Once we are totally satisfied, we highly polish the pieces and send them away for fresh silver plating. This finishing touch really makes the parts look like they belong, also reassuring the technicians involved. Despite all the hours of work, the best possible end result gives the impression that nothing’s been done at all!
As predicted, this oboe got a lot of customer interest and sold within a couple of weeks of listing for sale. We’d like to think this modification had a lot to do with its accessibility and appeal.