Workshop Tips: How we fix clarinet cracks
23rd July 2015BEFORE: 
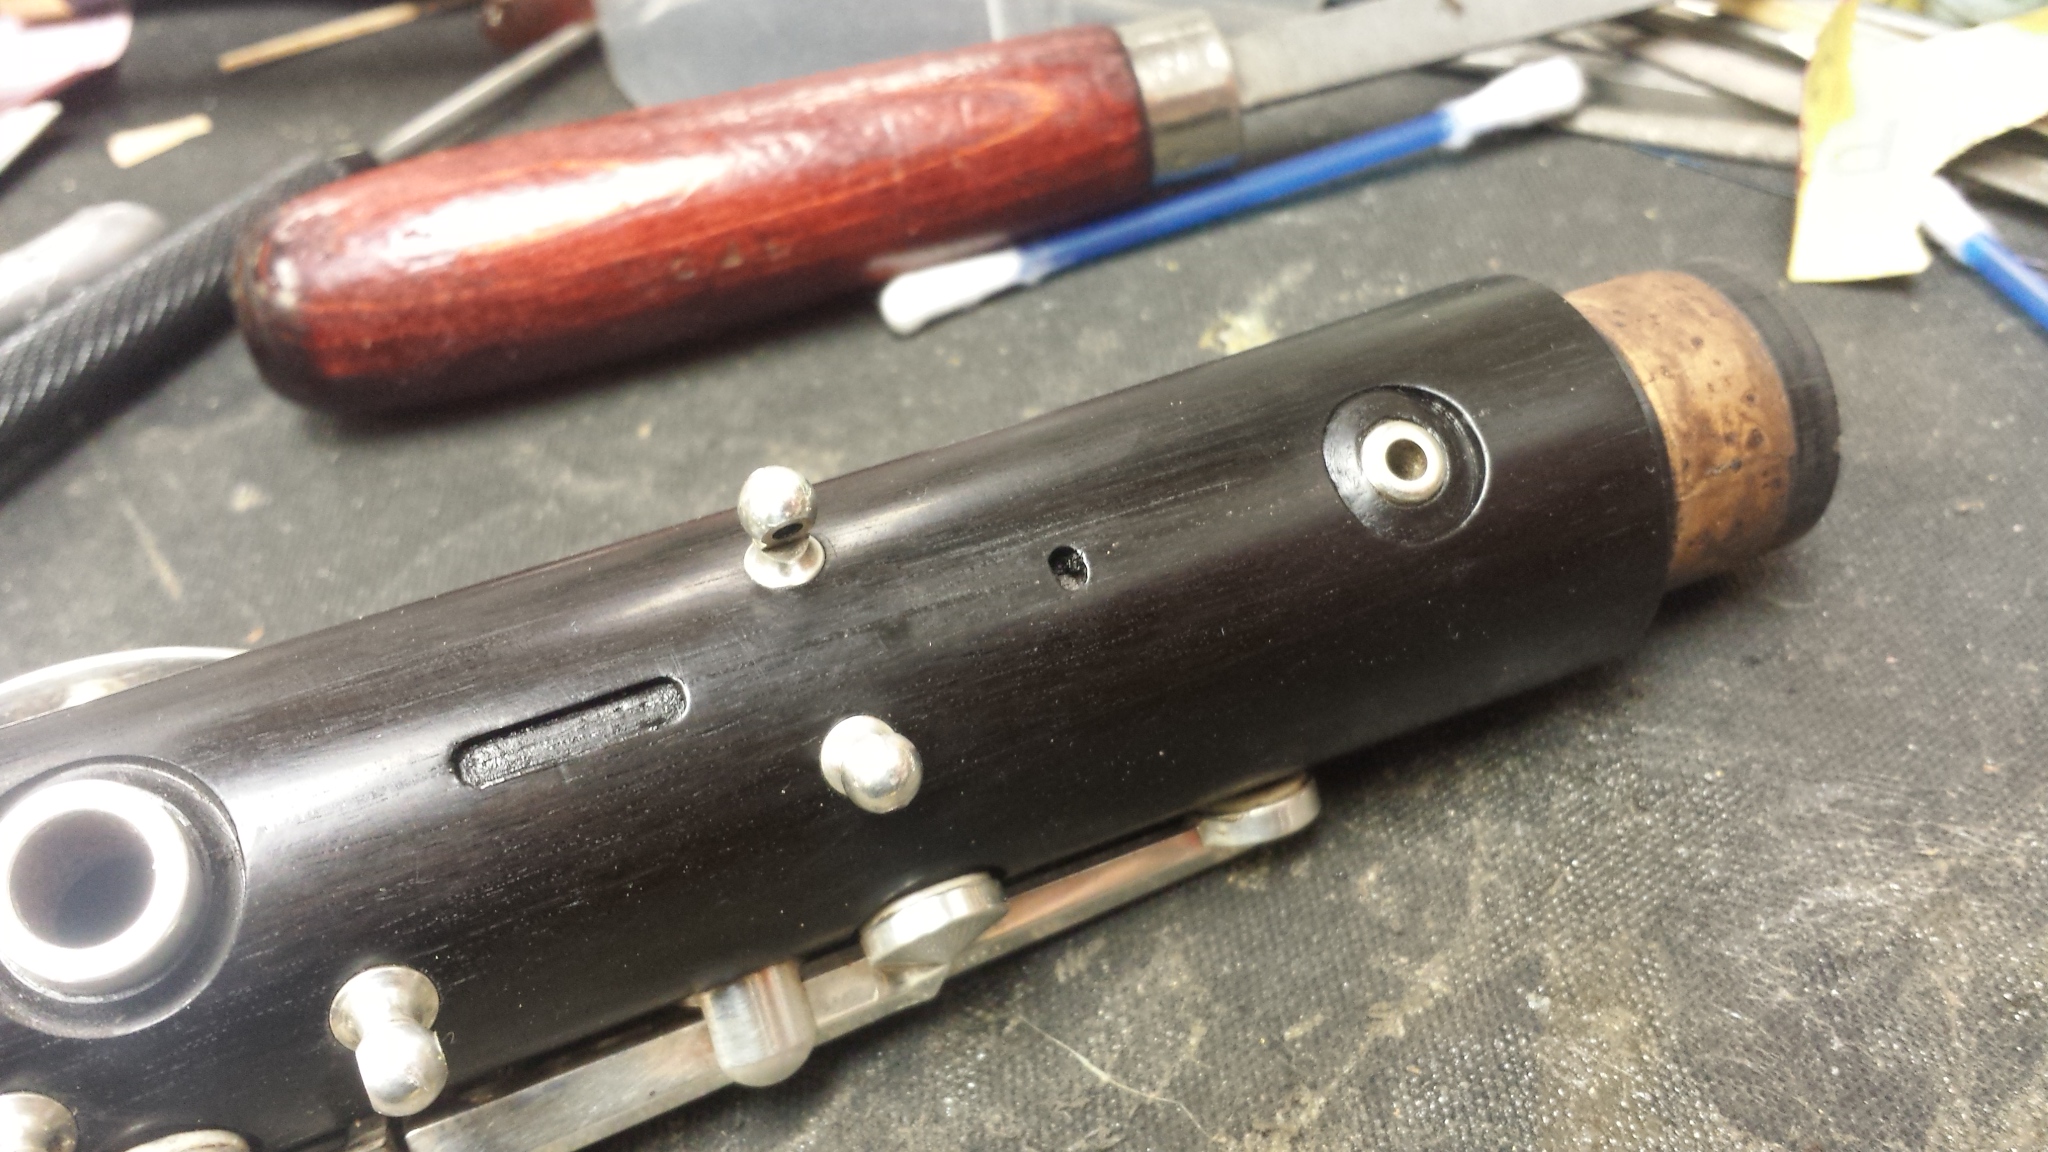
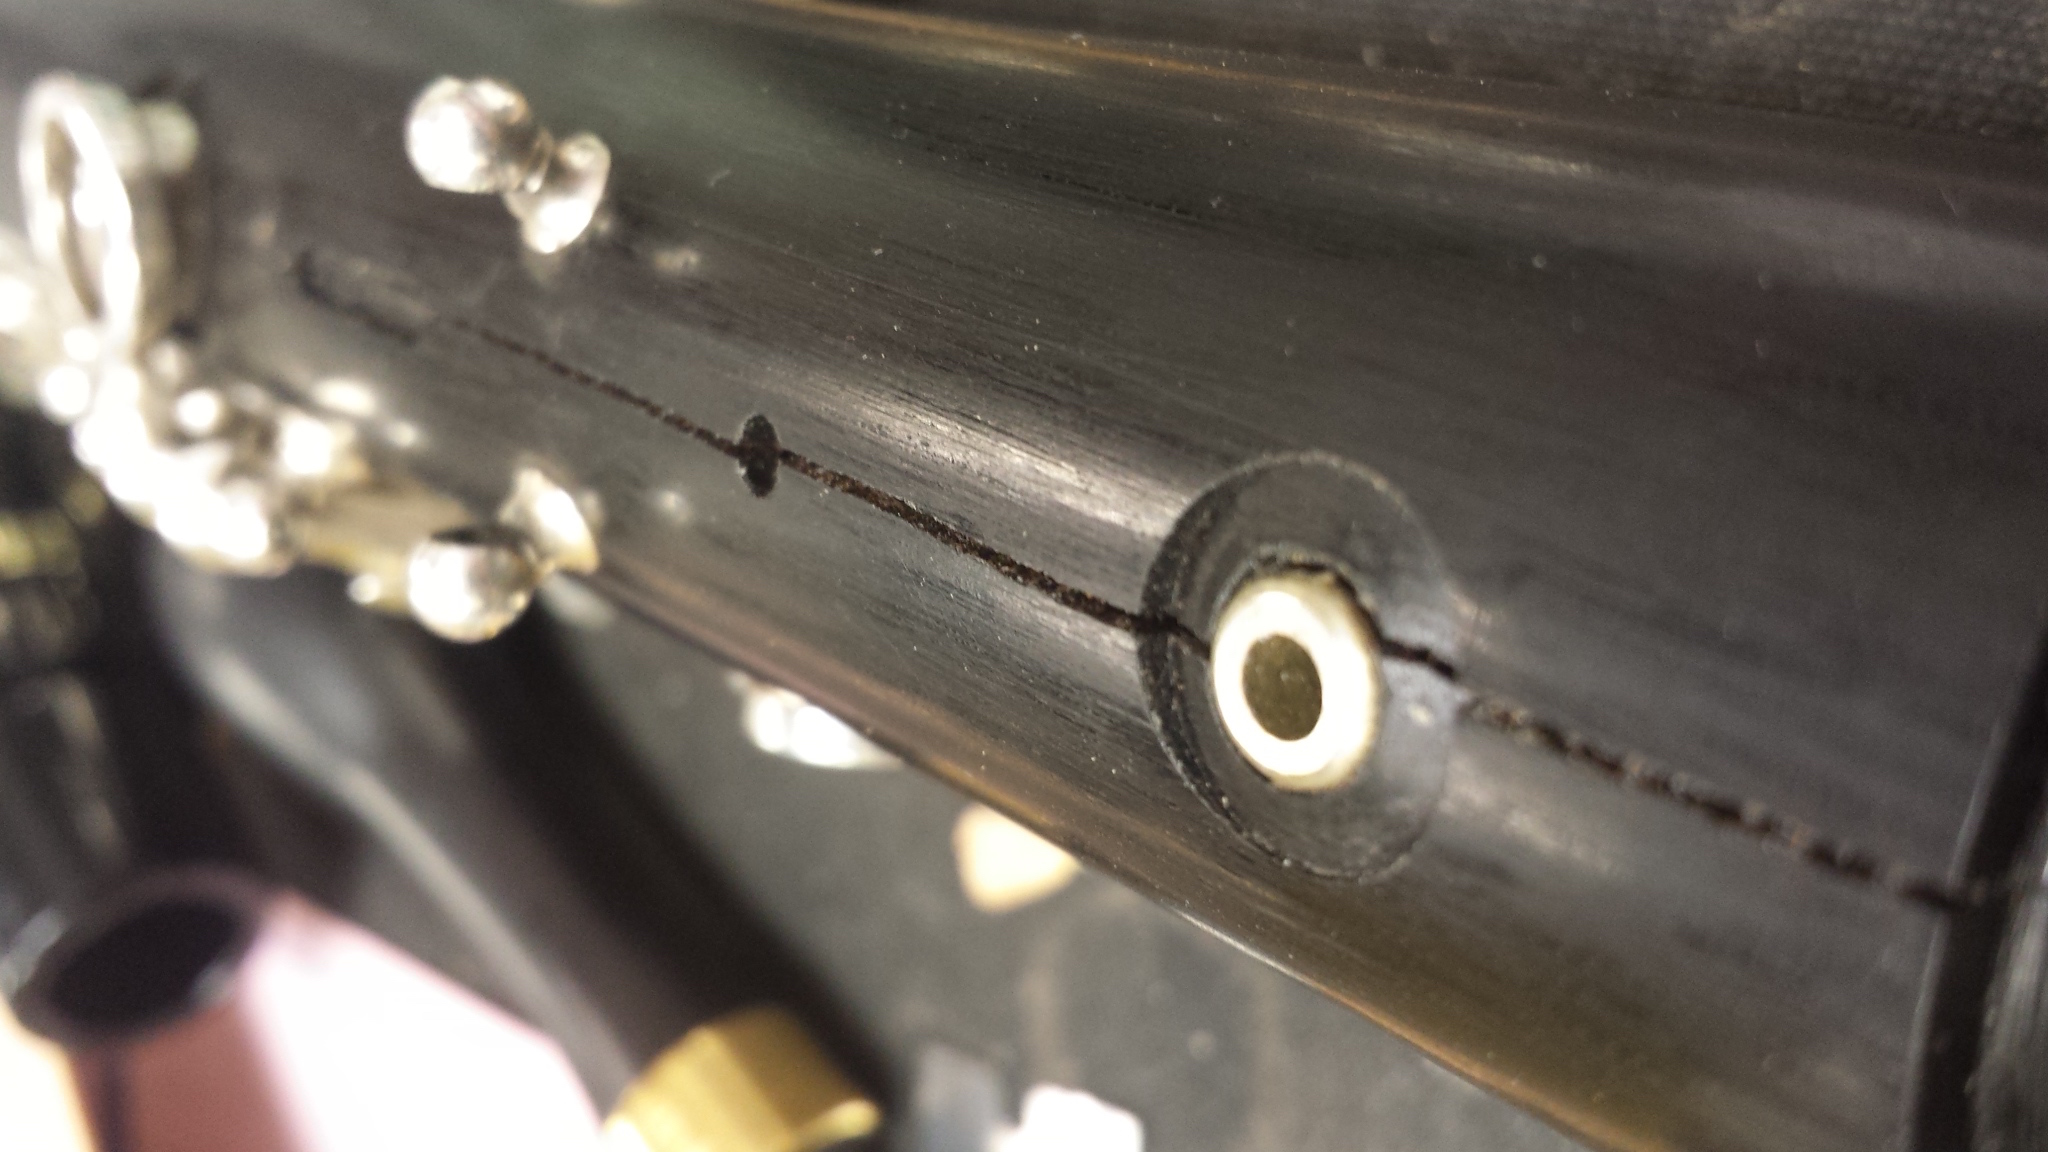
This Buffet R13 came into our workshop with an enormous crack in the top joint, running through the speaker tube and into the thumb bush. Miraculously, the crack had not travelled through into the bore of the instrument, so we were able to fill and secure the crack using wood powder, glue and a lot of patience.
HOW OUR WORKSHOP DID IT:
The first step is to remove any keywork that will get in the way, or could potentially get marked by tooling during the repair. We removed the speaker key and bush, and the thumb ring. This gave us a much better look at the severity of the crack, and what a crack! Using a blade, we scraped out any chips or loose pieces of wood or other debris from the crack, it is vital to clean the area before applying any glue to ensure a strong bond.
The wood dust (FH75B) we use is a finely powdered version of the same Grenadilla that is used in the production of the body of the instrument. When polished to a high shine, this should blend to be almost invisible. We also use ‘hot stuff glue’ (FH75A) which is an incredibly thin superglue, which dries to be brittle.
Start by sprinkling a small amount of wood powder into the crack using your fingertips, just enough to lightly line the bottom. Follow this with a thin layer of the superglue.
We often find it easier and safer to pour a small amount of glue out onto an appropriate nearby surface. Then we use a blade or a large needle spring to dip into it, taking a small amount of glue. This enables you to precisely place the glue, and run it down very small areas without risking a disastrous spillage. As the glue absorbs into the wood powder, it will darken, shrink back and set hard. Repeat this process, with small layers of wood powder and glue, until you have overfilled the crack.
Once the wood powder and glue mix is sitting proud of the body of the Clarinet, it can be filed back using small needle files. File it back carefully until it is flush with the wood. This marked area of wood can now be polished up to a high shine using different grades of emery paper. Start with 400 (GEC400S) in the direction of the crack, then 800 (GEC800S) at a 90 degree cut across the crack.
Now the area should be completely smooth, but dull from the work. Use a piece of ragging tape (FR26) with a mix of Tripoli (FR46) and Bore Oil (ALU007) to polish the area and condition the wood. Some manufacturers use a dye in the wood to give it the deep black colour you would typically see on a Clarinet, this can be removed during sanding to leave a noticeable lighter area, but it can be replaced using wood stain.
Cracks can be common when an old instrument is suddenly being played again. The wood will swell as hot air and moisture is blown down it, so this can be quite a shock to a piece of wood that has been at a steady temperature in storage. The best way to prevent this is to limit the playing of brand new or recently rediscovered wooden Clarinets to 30 minutes at a time. This amount of swelling shouldn’t put too much strain on the joints. Also, regular oiling of the bore should help to prevent the moisture from absorbing into the walls of the Clarinet. They should also be stored away from extremes of temperature e.g. radiators, conservatories, basements, lofts.
Learn more about clarinet repairs on our website here