Top 5 Tips: How To Test Saxophones
6th November 2023In this video we sat down with professional player & teacher Alastair Penman to discuss how to test Saxophones. This advice applies to any Saxophone including Soprano, Alto, Tenor or Baritone, and also new or pre-owned models. The guidance here is aimed at players upgrading from a student model, or indeed someone seeking out a professional model for long-term use.
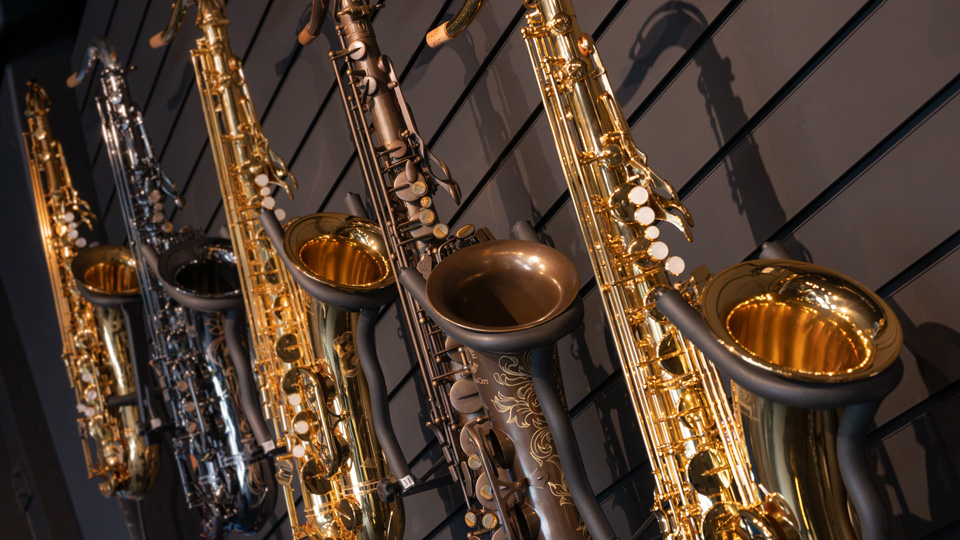
Alastair has tested hundreds of instruments whilst recording videos for Dawkes. He’s also been involved in product development with manufacturers creating new gear for Sax & Clarinet players so he’s well qualified to offer advice on how to test Saxophones!
Tip #1: Use Your Own Set-Up
It’s very important to use your own mouthpiece & reed when testing a new Saxophone. This allows you to limit the number of variables so only one thing is being tested…the Saxophone! You can then directly compare your normal set-up with this new instrument. Use a reed that is blown in a little – not a brand new one.
If you’re trying a different type of Saxophone (i.e Tenor when you normally play Alto) then perhaps try and use the direct Tenor Sax equivalent of your Alto Sax mouthpiece. This will at least start you with something that should feel comfortable.
Tip #2: Compare vs Your Old Instrument
This may sound obvious but sometimes people do arrive to test new instruments without their current one. Comparing directly to your current instrument gives a frame of reference. Often the room you’re trying in will be different to what you know, thus it’s good to blow your current Sax in that environment so you have something to compare against.
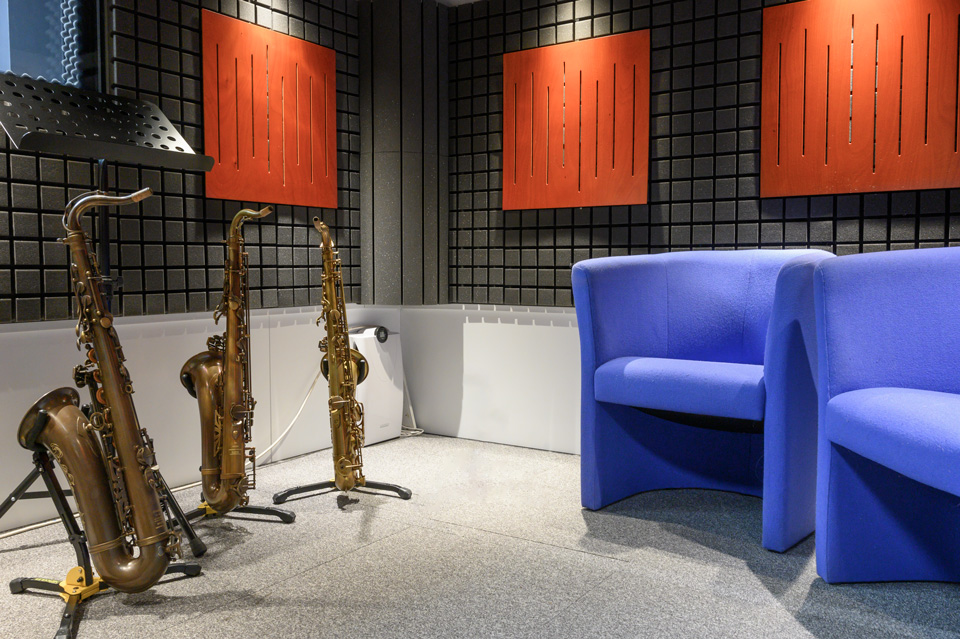
It’s also a good idea to test instruments in a relaxed and comfortable environment. Here at Dawkes we offer a range of pre-bookable testing rooms so you won’t be overlooked, hurried or feel uncomfortable.
Tip #3: Checking Intonation Boundaries
There are a few areas of the Saxophone to check, all the while remembering that tuning/intonation is a 2-way relationship between instrument and player. We call them ‘boundaries’ because it’s about if you, the mouthpiece and the Sax all get on to be within easily adjustable boundaries. (Video Ref: 7:50)
Alastair starts off by playing a F in both registers, then an F Major scale & arpeggio just to get a basic feel for the resonance and intonation. In terms of ‘problematic’ notes to check, the C# is usually a challenging note. Often the middle C# tends to be a little flat and the top C# a little sharp. Again, this is something that is difficult because of the tube design of a Sax, but the difference between the two notes should be manageable by minor embouchure or fingering adjustments. (Video Ref: 5:05)
It’s also worth checking all the way down to the bottom Bb in terms of how it speaks and intonation (often a little sharp). In terms of checking higher notes, the palm keys can be a little sharp and the Front F needs to speak clearly. Always check these notes with a tuner and vs your own current instrument. (Video Ref: 6:30)
Tip #4: Listen To Tonal Range & Character
It’s about finding the ‘sound’ and character of each instrument here. When you test any new instrument it’s best to simply play slow scales and long notes to actually hear the instrument. Again, we’re not testing your technique, we want to test the qualities of the instrument.
One way to do this is to test the dynamic range (Video Ref: 10:30) by pushing from pp to ff. As you warm the instrument (and yourself up) you’ll start to feel where the Sax speaks nicely. In terms of technical improvements it’s true that a new Sax should feel better under the fingers. So, do try something a little more demanding in terms of technique. Always remember the feel can sometimes be modified by our workshop to make the springing feel lighter or heavier for example.
Tip #5: Try It On Approval
Our final tip here is to test the instrument (a) in a nice environment to start with (such as one of our testing rooms, shown below) and then (b) to try it somewhere you already know. Our 14 day approval period allows you to buy an instrument/mouthpiece then take it home and try it there. This allows you to return/swap any items if you suddenly feel unsure in your own acoustic environment.
Bonus Tip: Enjoy It!
A little bonus from Sam in the video (Ref: 14:05) is to “enjoy the process!”. This sounds obvious, but it’s very important to feel comfortable and really take pleasure in choosing a new instrument. The retailer (hopefully Dawkes!) should give you the right advice, environment and support (pre and post sale) to ensure it is an enjoyable experience…if it’s not, don’t give them your money!